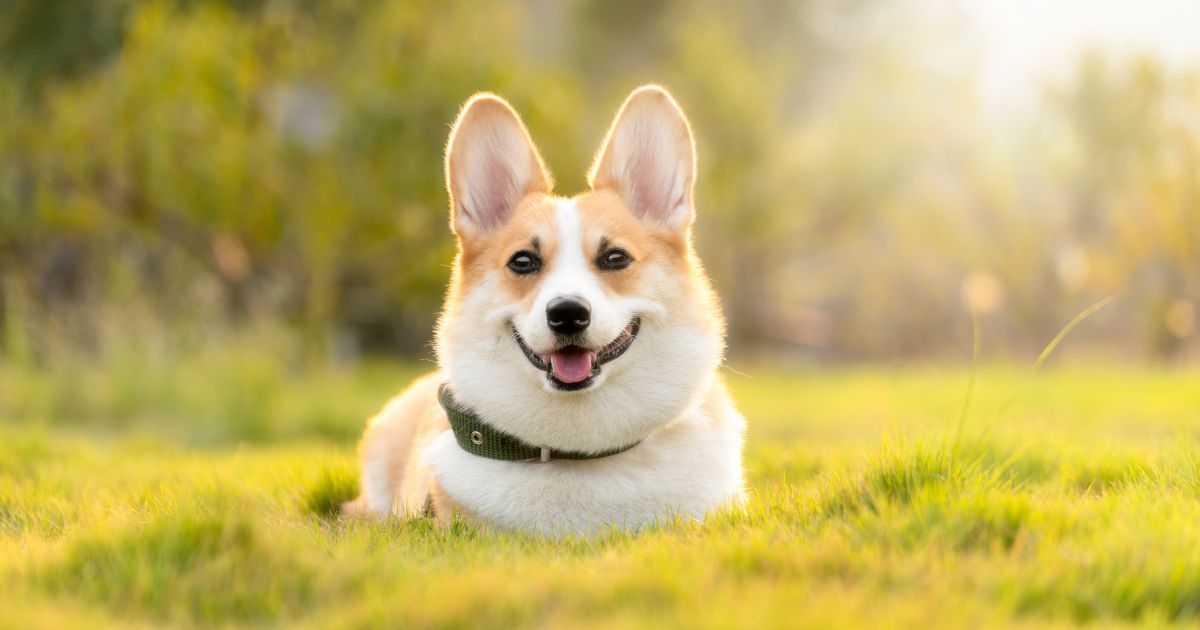
Drawing a dog can be a fun and rewarding experience, whether you are an experienced artist or just starting out. Dogs come in various shapes and sizes, with each breed having its unique characteristics. In this article, we will share some simple steps to help you draw a dog that looks lifelike and full of personality.
Step 1: Start with Basic Shapes
Begin by sketching the basic shapes that form the body of the dog. Start with an oval for the head and a larger oval below it for the body. Add smaller circles for the limbs and a rectangle for the tail. Keep the lines light and faint as these will serve as your guide and can be erased later.
Step 2: Add Details and Features
After creating the basic shapes, it’s time to add details and features that define the dog’s breed. Observe the breed you want to draw and notice its specific characteristics. For example, if you are drawing a Labrador Retriever, sketch its droopy ears, a slightly rounded snout, and a barrel-shaped body.
Step 3: Refine the Outline
With the basic framework and features in place, start refining the outline of the dog. Use shorter, bolder, and more confident strokes to define the shape and contours of the body. Pay attention to the curves and angles to capture the dog’s form accurately.
Step 4: Focus on the Facial Features
A dog’s face has expressive features that are crucial for capturing its essence. Start by refining the shape of the head and then add eyes, a nose, and mouth. Pay close attention to the position and size of these features as they truly bring out the dog’s personality.Paint its nose. Muzzle and Lips.
Step 5: Fill in the Fur
The fur is one of the defining characteristics of a dog, and paying attention to its texture can make your drawing even more realistic. Start by using short, gently curving strokes to create the fur effect. Layer the strokes in a way that gives depth and dimension to the drawing. Varying the length and thickness of the strokes will help you mimic different fur types.
Step 6: Add Shading and Highlights
Adding shading and highlights to your drawing helps give it depth and dimension. Observe the direction and source of light in your reference image to determine where the shadows would fall. Deepen those areas and gently smudge the pencil lines to create a smooth transition. Use an eraser to add highlights to areas that catch the light.
FAQ
Q: What if my drawing doesn’t turn out as expected?
A: It’s completely okay if your drawing doesn’t turn out exactly as you envisioned. Remember, practice makes perfect, and every artist goes through a learning curve. Keep practicing, experimenting with different techniques, and don’t be afraid to make mistakes.
Q: Are there any recommended resources for learning to draw dogs?
A: Yes, there are plenty of online tutorials, drawing books, and even video courses available. YouTube has a wide array of step-by-step tutorials that cater to varying skill levels and specific dog breeds.
Conclusion
Drawing a dog requires patience, observation, and practice. By breaking down the process into steps, you can master the art of creating a lifelike dog drawing. Remember, every artist’s style is unique, so embrace your creativity and have fun while drawing. Keep exploring different breeds and techniques to further improve your skills. Happy drawing!
Thank you for reading this article! If you enjoyed learning how to draw a dog, don’t forget to check out our other interesting and informative articles.
Originally posted 2023-09-04 06:08:02.


